-3.svg)
How to create an event
Here's a quick guide on how to create an event on Jamatu.
Requirements
Before you can create an event, you have to create a free account in Jamatu.
Steps to create an event
- Log in into Jamatu
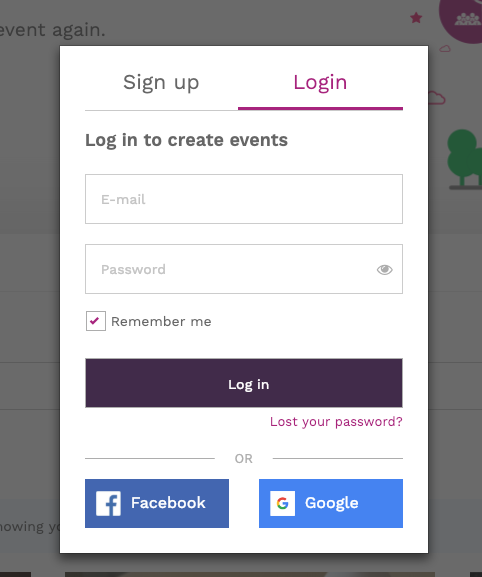
Please provide your E-mail and Password to continue using Jamatu's features per creating an event. - Click on the "Create event"

- In the create event page, you will have the possibility to enter basic information about your event and set privacy setting - and click "Save"
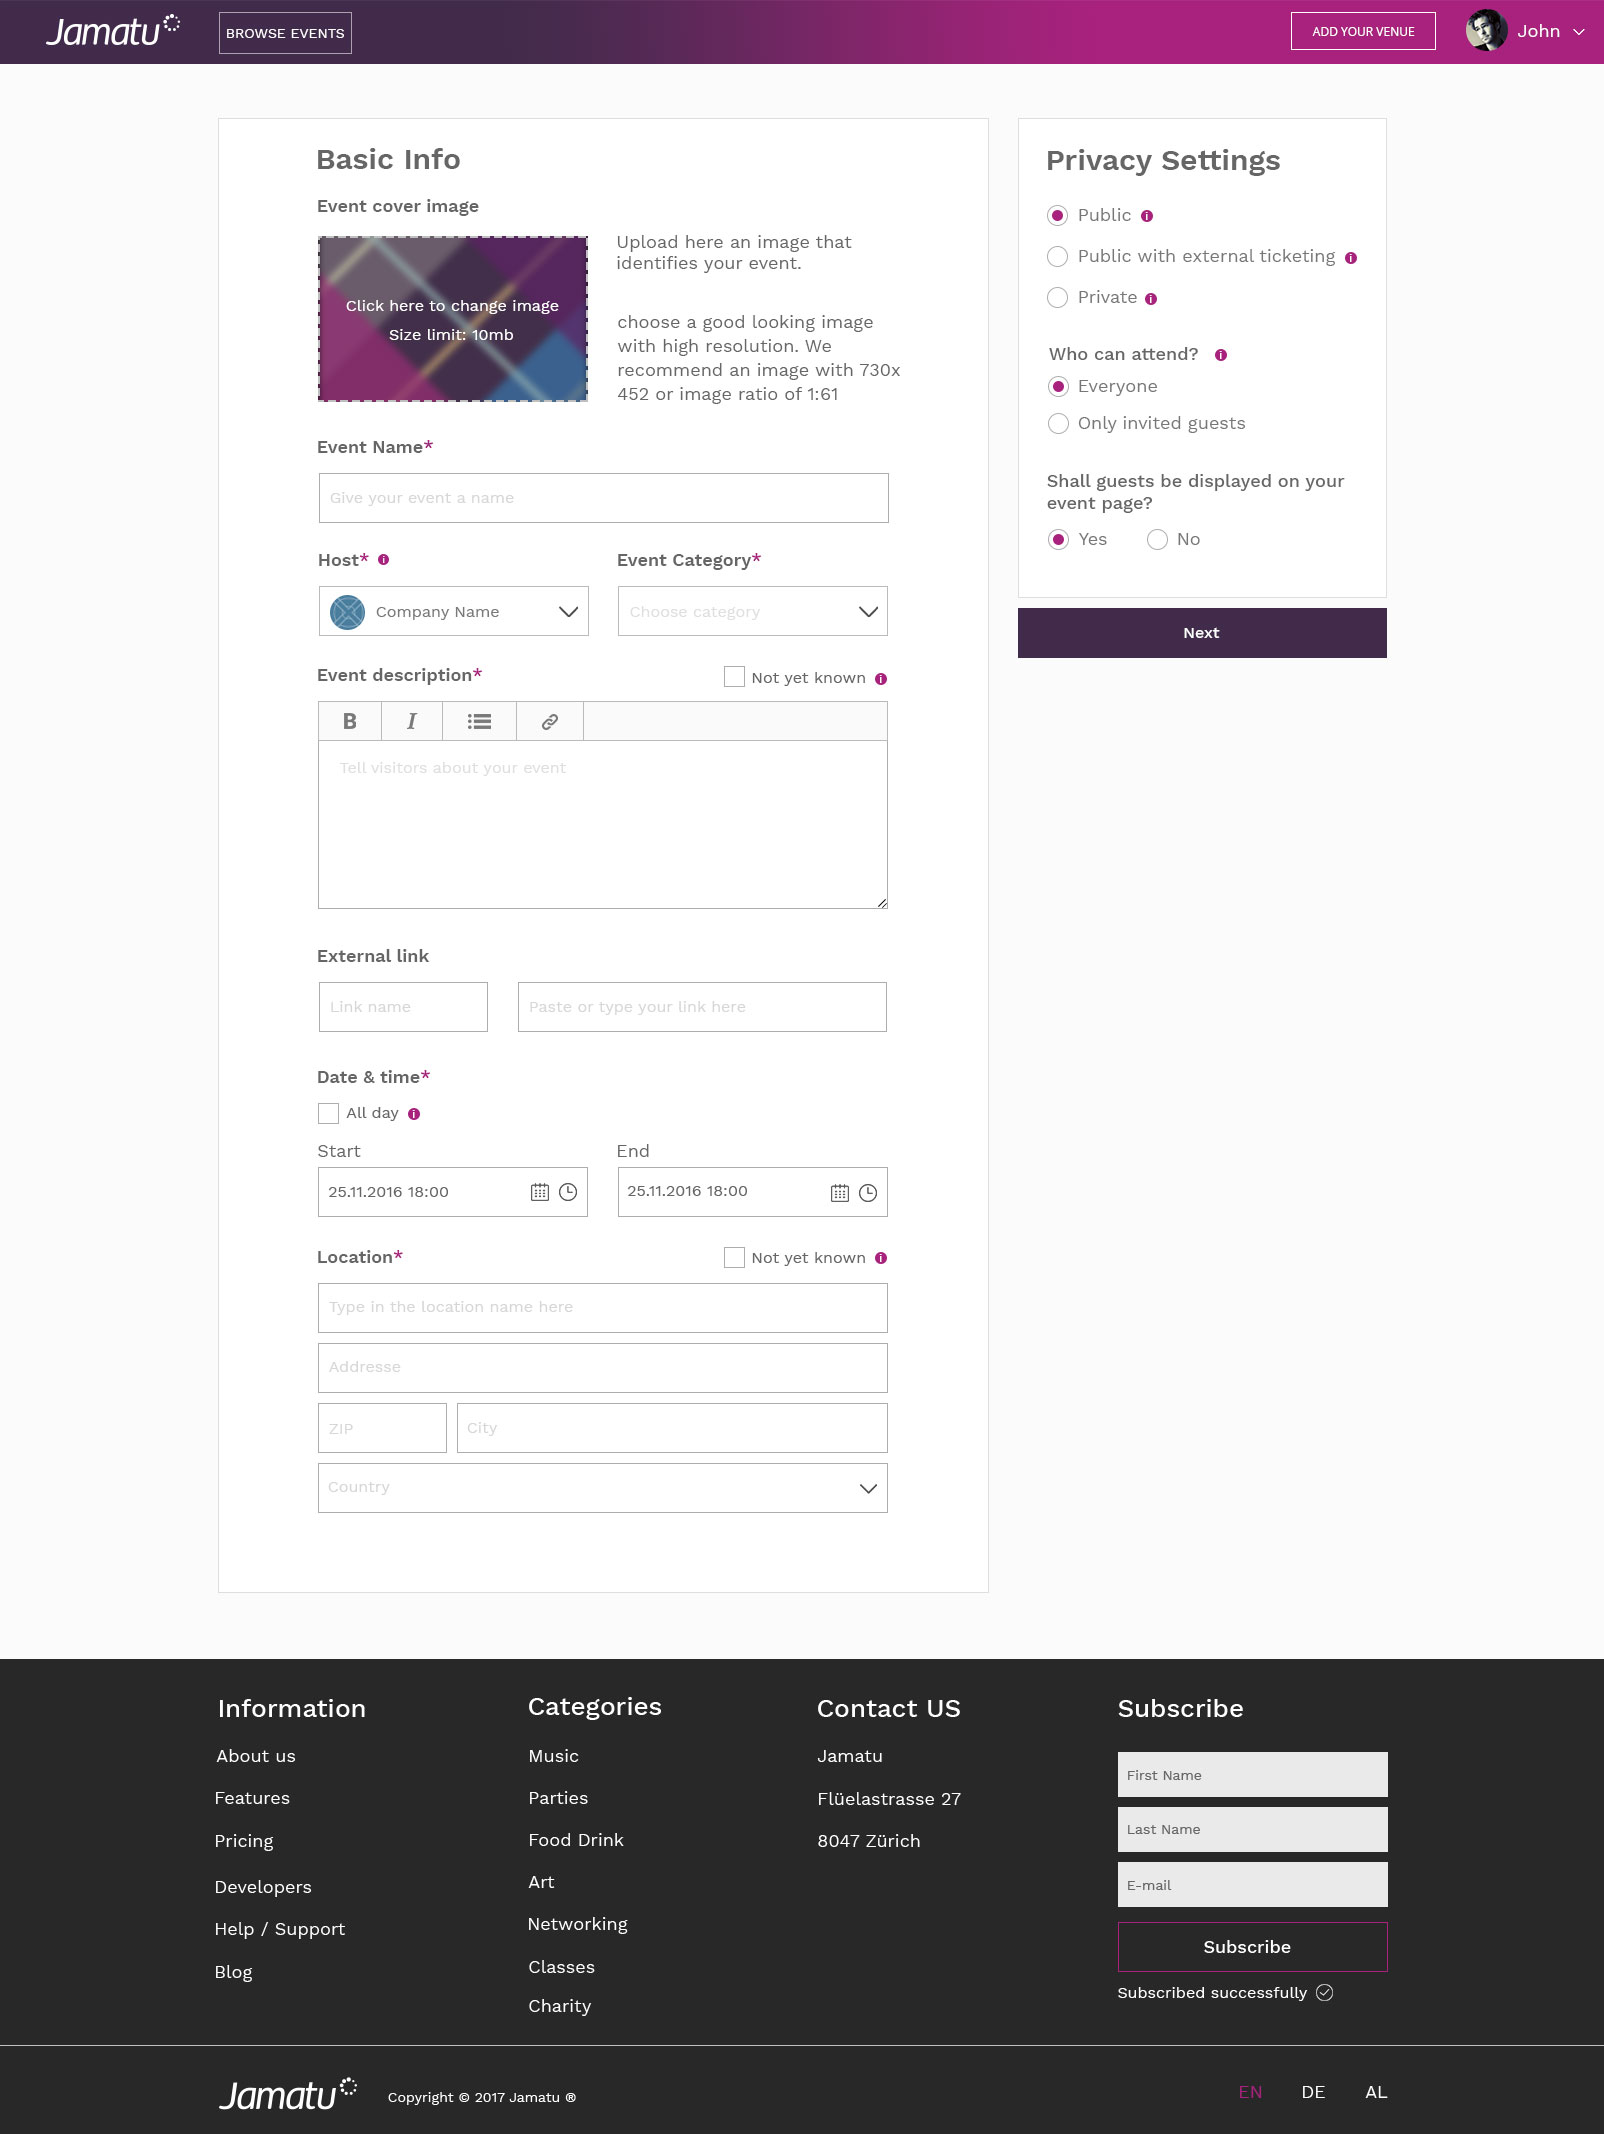
On this page you will provide all the needed and detailed information about your event.
Please fill out all the needed fields, especially those that are mandatory (mandatory fields are those with the * sign)
Select your privacy setting according to the event
Public: Event will be listed on Jamatu and can can be found on search engines.
- Public with external ticketing: Event will be listed on Jamatu but tag about event type will be made. Use this if you do your ticketing outside Jamatu and just want to list the event at Jamatu.
Private: People having the link of the event can access the event. The event is not findable on Jamatu nor on the search engines.
- Who can attend
Everyone: Anyone can attend or buy tickets.
Only invited: People that received an e-mail invitation over Jamatu can attend or buy tickets.
- Shall guests be displayed on your event page?
- radio button is selected and that option is applied
After saving the event you will be redirected to the "Publish event" page, to add and edit more information.
- "Publish event" page

First the event will be saved as a draft.
Here you can edit your event and give it a last touch before publishing it.
You can attach to the event also:
- Agenda
- Documents (pdf, word and excel)
- Photos of the event
- Sponsors
When you are ready with all the changes click on the "Publish" and your event will be published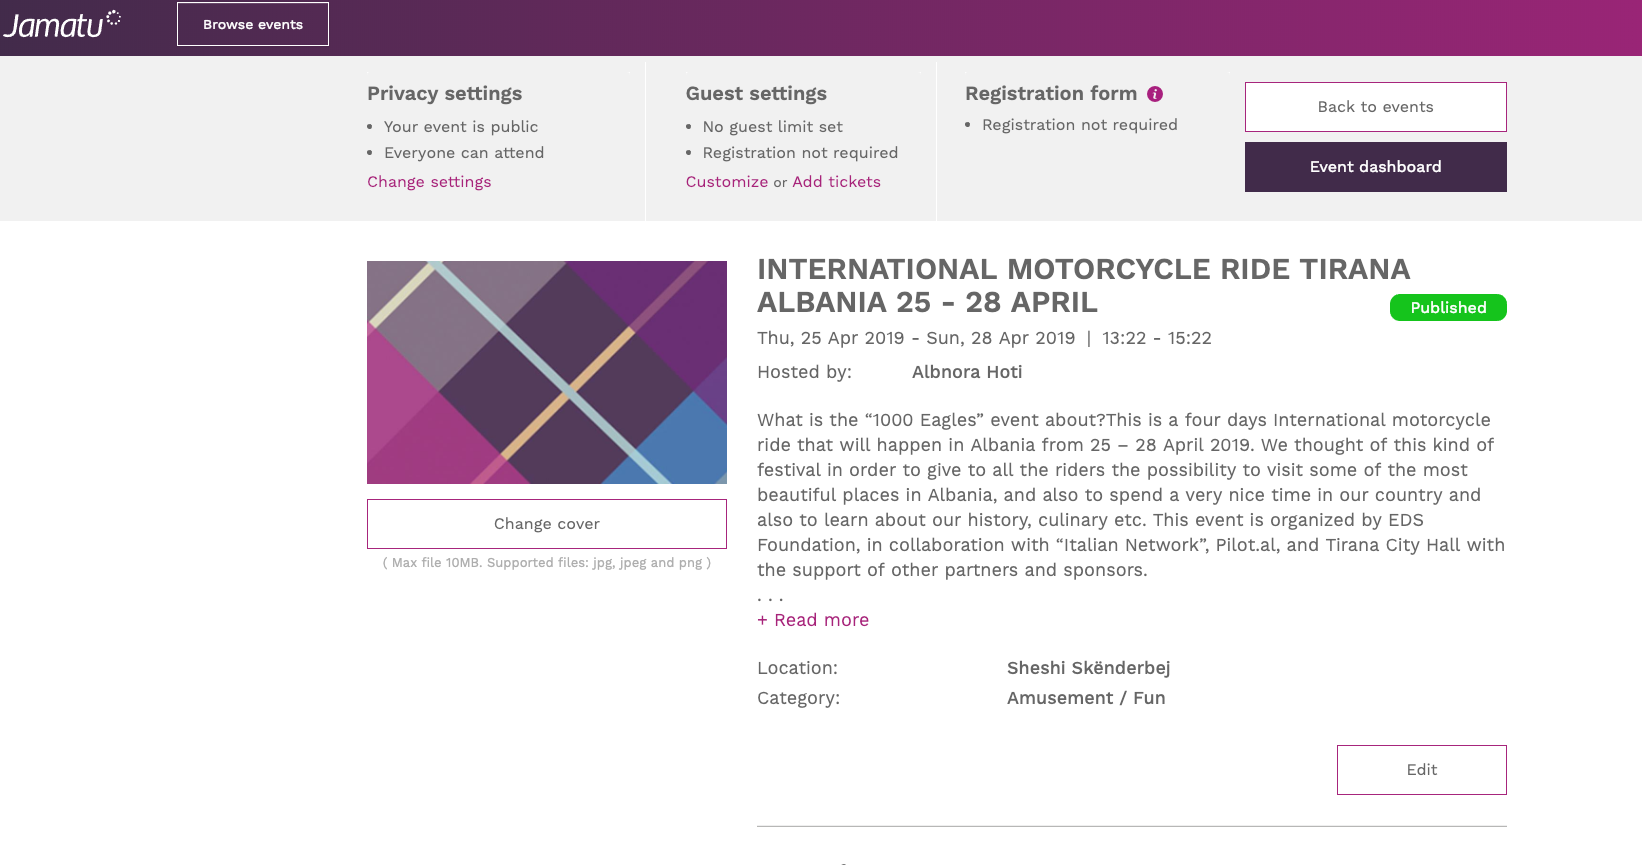
- Event Dashboard

As soon as you decide to publish your event, you will be redirected to the event dashboard, where you can manage your event.
- Invite people
- See attendees
- See who has registered to your event. Go to Guests under Sales & Orders
- Overview report
- Tickets issued
- Total income
- Page views
- Invited guests
- Notifications
- Here you can define who and what kind of event notifications should be triggered
Quick Links
Create an account or login
Start creating your event
Need help?